Acrylic nails, while offering a pristine and polished look, eventually require removal, whether due to natural nail growth or the desire for a new nail art design. Removing acrylic nails can seem daunting, especially if you wish to protect the integrity of your natural nails underneath. However, with the right tools and techniques, you can achieve salon-quality results from the comfort of your home. This guide will walk you through the safest and most effective methods for removing acrylic nails, ensuring your natural nails remain healthy and undamaged in the process.
Understanding Acrylic Nails
Before diving into the removal process, it’s crucial to understand what acrylic nails are. Acrylics are a combination of a liquid monomer and a powder polymer that creates a hard protective layer over your natural nails, giving them a longer, more uniform appearance. This durability is what makes them so popular but also what makes their removal more complex compared to other nail enhancements like gel polish.
Preparing for Removal
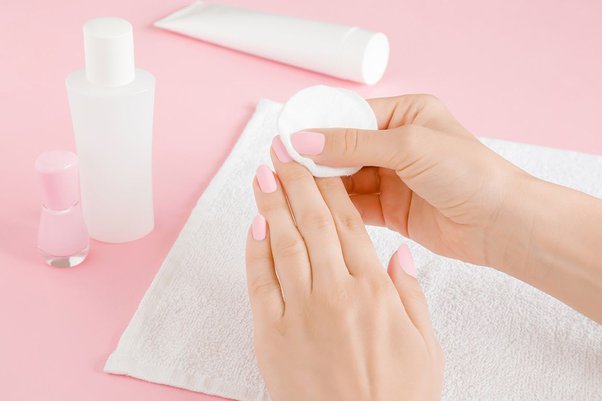
The key to a successful and safe acrylic nail removal lies in preparation. You’ll need a few tools and materials, including acetone, nail clippers, a nail file, a bowl, some foil, cotton balls, and a cuticle pusher or orange stick. It’s also wise to apply cuticle oil to protect your skin from the drying effects of acetone.
Step-by-Step Removal Process
1. Trimming and Filing
Start by clipping your acrylic nails as short as possible without damaging your natural nails. Then, use a coarse nail file to gently file down the surface of the acrylic, focusing on reducing its thickness. This step is crucial as it significantly reduces the amount of time your nails will need to be exposed to acetone later.
2. Acetone Soak
Acetone is the most effective solvent for breaking down the acrylic material, but it can be harsh on your skin. To mitigate its effects, consider applying petroleum jelly to the skin around your nails. Soak cotton balls in acetone, place them on your nails, and then wrap each fingertip with foil to keep the cotton balls in place. This creates a mini soaking environment for each nail, maximizing the acetone’s effectiveness. Leave your nails wrapped for about 20-30 minutes.
3. Checking the Progress
After the recommended time, gently unwrap one nail to check the progress. The acrylic should have softened to a point where it can be gently pushed off with a cuticle pusher or orange stick. If the acrylic is still hard, rewrap the nail and check again in a few minutes.
4. Gentle Removal
Once the acrylic has softened, use the cuticle pusher to gently scrape off the acrylic. It’s crucial to be gentle during this process to avoid damaging the natural nail. If you encounter resistance, it’s better to re-soak the nail rather than force the acrylic off.
5. Aftercare
After all the acrylic has been removed, your natural nails will likely feel weak and brittle. Wash your hands to remove any acetone residue and then hydrate your nails with cuticle oil or a nail treatment. This step is vital for restoring moisture and encouraging healthy nail growth.
Alternative Removal Methods
While the acetone soak is the most common method for removing acrylic nails, there are alternative methods for those looking for less harsh options. One such method involves soaking the nails in warm, soapy water to help loosen the acrylic, although this method may be less effective and require more time and patience.
Conclusion
Removing acrylic nails at home can be a straightforward process with the right preparation and patience. By following these steps, you can ensure a safe removal process that keeps your natural nails healthy and intact. Remember, regular breaks from acrylics and proper nail care are essential for maintaining the overall health of your nails. Whether you’re preparing for a new set of acrylics or giving your natural nails a breather, taking the time to remove acrylic nails properly is a crucial aspect of nail care.


