In an age where our lives are intricately intertwined with our digital devices, the importance of maintaining privacy and security cannot be overstated. For iPhone users, there may come a time when erasing your device becomes necessary, whether you’re planning to sell it, give it away, or simply want to start fresh. This comprehensive guide will walk you through the steps to securely and effectively erase your iPhone, ensuring your personal data is protected.
Understanding the Importance of Erasing Your iPhone
Before diving into the “how-to,” it’s crucial to understand why properly erasing your iPhone is a step you can’t afford to skip. Your device houses a plethora of personal information, from photos and messages to financial details and passwords. Leaving this data on your iPhone when passing it on could lead to privacy breaches and identity theft. Erasing your device helps protect your information and ensures that your digital footprint is wiped clean.
Preparing Your iPhone for Erasure
Backing Up Your Data
The first step before erasing your iPhone is to back up all your important data. You have two primary options for backing up: iCloud and iTunes (or Finder on macOS Catalina and later). Backing up ensures that you can access your photos, videos, contacts, and more after erasing your device or setting up a new one.
- iCloud Backup: Go to Settings > [your name] > iCloud > iCloud Backup. Make sure iCloud Backup is turned on, then tap “Back Up Now.”
- iTunes/Finder Backup: Connect your iPhone to your computer, open iTunes (or Finder), select your device, and click “Back Up Now.”
Signing Out of iCloud and iTunes & App Store
To prevent future issues with activation locks and to ensure your device is no longer linked to your Apple ID, sign out of iCloud, iTunes, and the App Store.
- Go to Settings > [your name], scroll down, and tap “Sign Out.” Enter your Apple ID password and tap “Turn Off.”
Disabling Find My iPhone
Find My iPhone is a security feature that needs to be turned off before erasing your device.
- Go to Settings > [your name] > Find My > Find My iPhone, then turn off Find My iPhone.
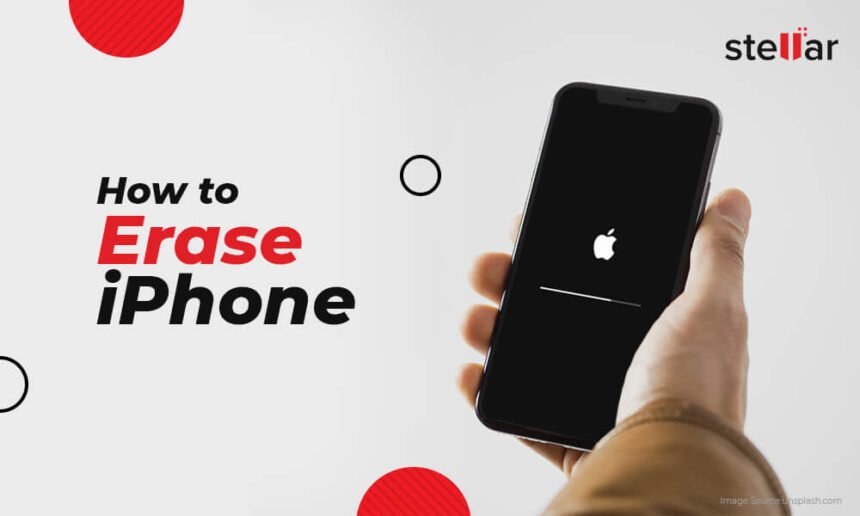
How to Erase Your iPhone
Now that you’ve backed up your data and signed out of your accounts, you’re ready to erase your iPhone. Follow these steps to perform a factory reset, which will erase all content and settings:
- Go to Settings > General > Reset.
- Tap “Erase All Content and Settings.” If you’ve set a passcode or restrictions, you’ll be asked to enter it.
- You may be asked to enter your Apple ID password to turn off Activate Lock. After entering your password, the erasure process will begin.
The process may take a few minutes to complete. Once it’s done, your iPhone will restart as if it were brand new, with no trace of your personal data.
After Erasing Your iPhone
After your iPhone has been erased, it’s ready to be set up by the new owner. If you’re keeping the device and simply wanted to start fresh, you can now restore your data from the backup you created earlier. Follow the on-screen instructions to set up your iPhone, and when prompted, choose to restore from either an iCloud or iTunes/Finder backup.
Conclusion
Erasing your iPhone is a straightforward process, but it’s one that carries significant importance. Whether you’re selling, giving away, or simply resetting your device, following the steps outlined in this guide ensures that your personal information remains secure. Always remember to back up your data before starting the erasure process, and ensure you’ve signed out of all accounts to avoid any potential issues. By taking these precautions, you can rest assured that your digital privacy is protected.
Read Also : How to Change Your iPhone Name: A Comprehensive Guide


